Back Splash
 | |
| When I bought my house a while back, there was a stack of ceramic tile in the garage. I had tried to sell them at about three garage sales. |
| I was getting my counter top replaced (look at that icky seafoam green!) and I wanted to do something fun for the back splash. Once I saw the sample pattern, enter the stack of tiles, a couple of hammers, a fellow designer (tile-breaker) and a nutty idea. All the tiles seemed to have a color in that pattern! Between the picture above (which was taken maybe in April) and the picture below, there is 6 months or more. The counter doesn't get removed and replaced until mid-August, when I was expecting it in late June/Early July. I'm telling you, I was really patient with the installers... they knew it, too. |
 |
| So most of it goes up like it had been set within the chalk line on my deck. I had to load it all onto boards, because summertime wore on and the counter top guys were nowhere... so I was smearing each one, individually, with adhesive and placing them one at a time on the wall. It was actually pretty gratifying. |
 |
| At this point, the grand plan almost went to hell... none of the measuring was working out, since I hadn't been exact about where the outlets were...so I had to start punting, thinking I was going to have to break more tile to have more options for pieces. Don't get me wrong, it was still fun...I really liked what was beginning to take shape, even though it was much slower than the part under the window, which was measured more accurately. |
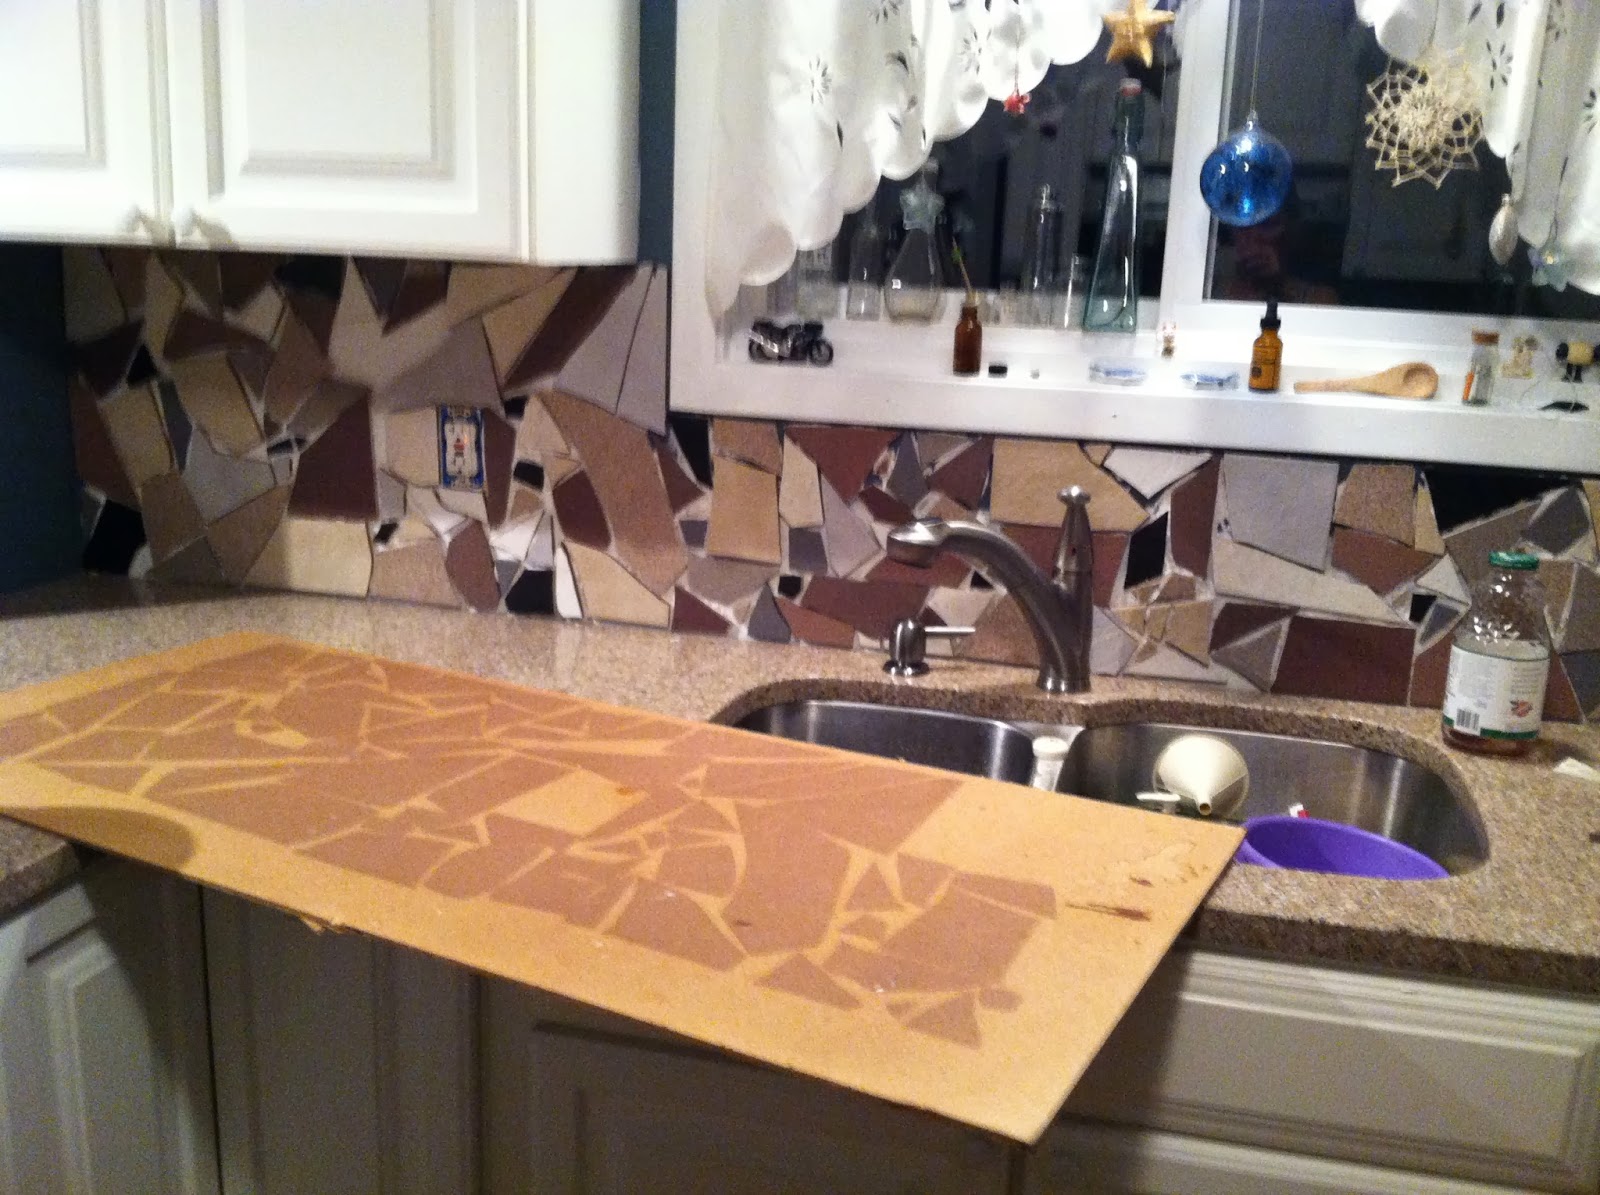 |
| So you can see just how long those tiles had been out in the sun. I'm putting these up in November and that pattern got puzzled down on the deck in mid-May. I know, right? |
 |
| These are truly the tape and glue skills of 1st grade, but you can see what this is going to look like... |
 |
| And now for the grout color. I thought at first that the grout would be charcoal gray, but it ends up that I found that pulling the main color from the counter would bring the whole thing together better. Here, my friend, George, holds the counter sample over the color chart so we can assess what main color pops out the best. |
 |
| The winning color is called Canvas... and this is after I've smoothed it into the cracks and crevices. Then comes the wiping to smooth it. The more careful, detailed wiping is when you start getting really happy with yourself. Hopefully... |
 |
| HAPPY! Super Happy! |
 |
| This shot is taken after clean up, which is when you crack the bottle of wine, beer or champagne or go get the massage - whatever it is you do to celebrate. To say the very least, I'm pleased, relieved and FINISHED. Now to run a bead of caulk, seal it and enjoy splashing all the water I want in the sink. |
posted by woodlandcreature at 7:10 PM
0 comments
![]()
![]()


